

Blog
The top 10 interesting ways to use an interactive panel in the class
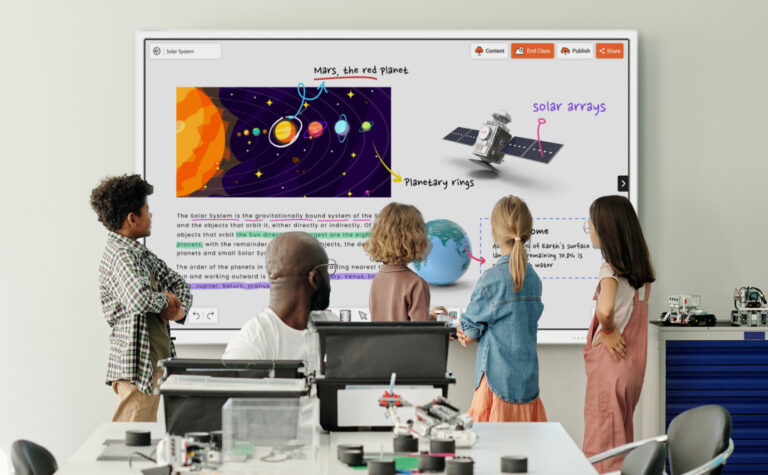
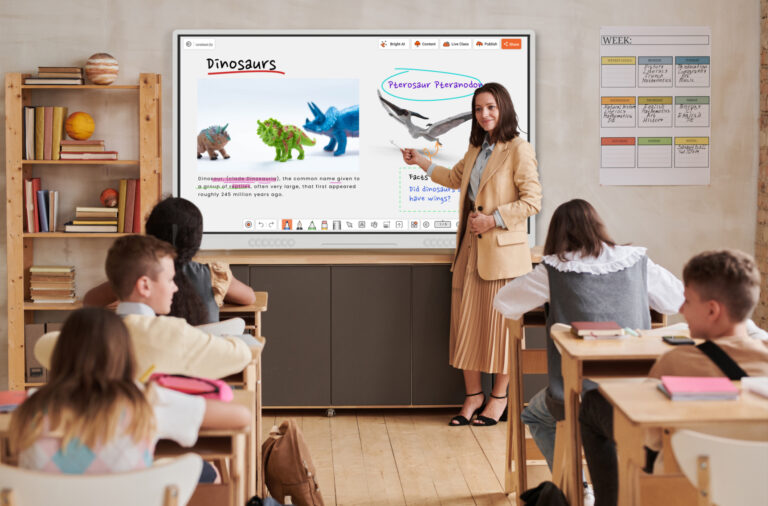
An interactive flat panel (IFP) in the classroom serves as a dynamic tool, sparking curiosity and fostering creativity in students. While it has the potential to maximize learning outcomes, it requires some effort on the part of the teacher.